Feb. 10
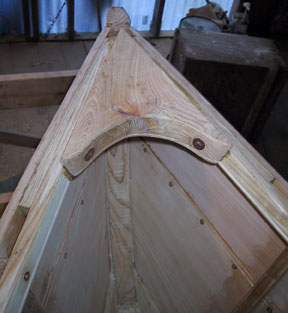
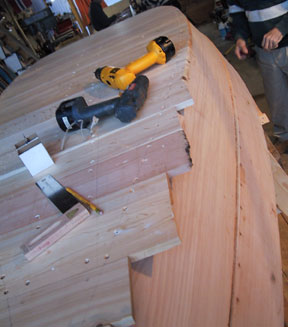
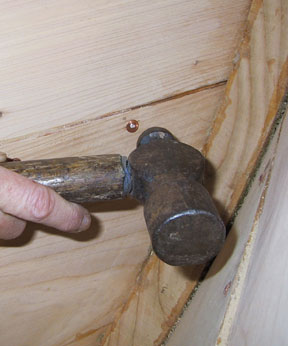
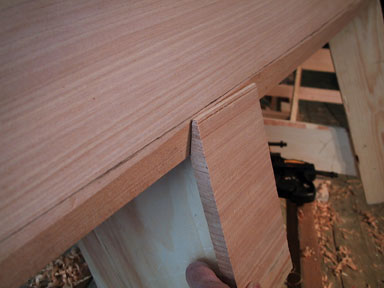
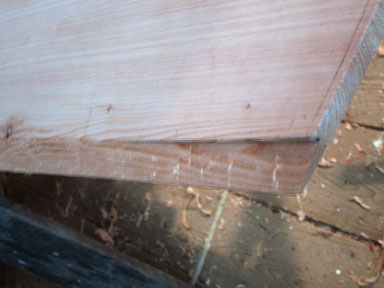
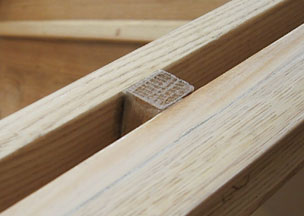
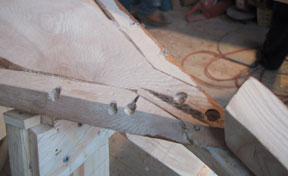
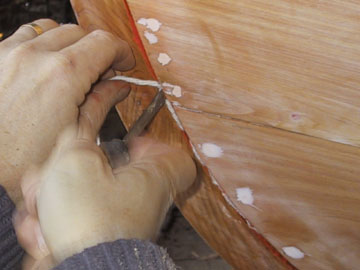
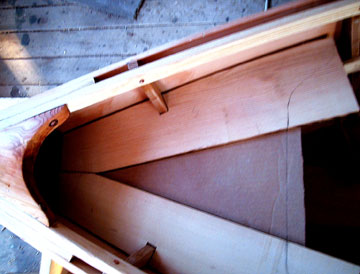
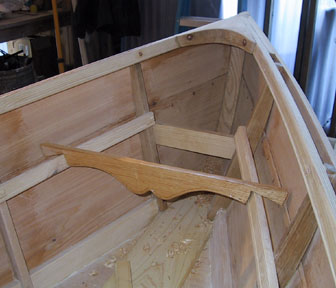
Before varnishing the rails I planed and sanded the top of the sheer where rails, planks, frames and knees all come together. I remembered that on my other boat, the Trumpy Tender, I had taken the corners off of the top of the frames to avoid chipping of the sharp corner, so I did the same on the skiff. Here is a picture of before and after that little chore:

Feb 8-9
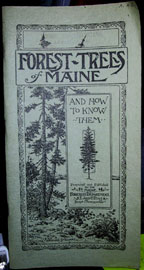
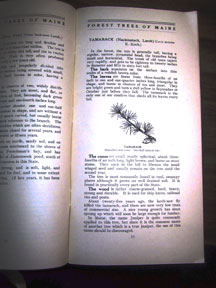
Went to an antique show in Bath and found an old wooden tool box and an 1908 booklet, "Forest Trees of Maine". Building this skiff has stirred my interest in the sources of my materials.
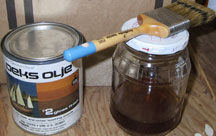
More painting and varnishing each day.

Feb 3-7
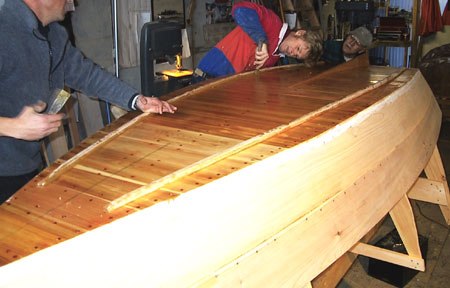
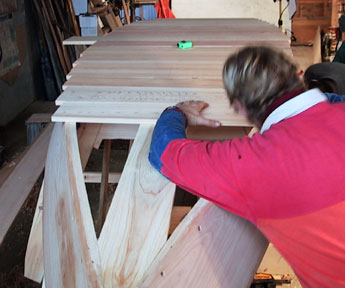
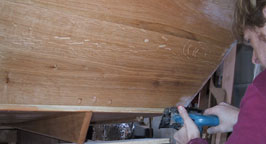
Finally a visitor! Jane came for the week and is helping me with the painting and varnishing which is coming along nicely. Each day I do a little something, like varnish the interior or the bottom with me painting above my head so that the paint doesn't run into the space between the bottom boards. That would impare the swelling necessary to float the boat.
Attending to little details like the oval brass screws for the oarlock holders. I bought copper by mistake but was able to find the brass at Grovers, the local hardware store in Boothbay Harbor.
Feb 2
Why would anyone build a house with a flat roof in Maine? This sort of question puzzles me.
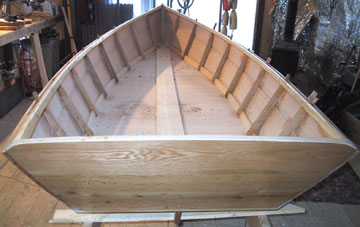
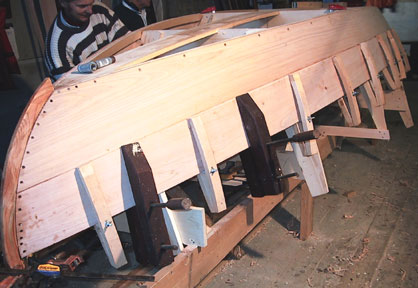
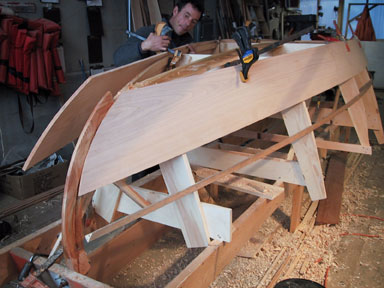
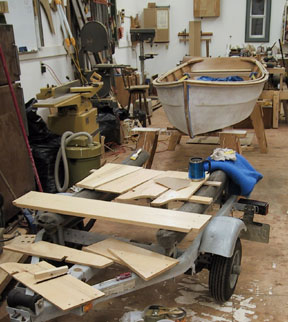
The second skiff is moving along. The keelson and the chine logs are smaller than on the first skiff and I am wondering if it truly qualifies as a Mathis skiff if the scantlings are changed? The stem is also shaped slightly different where it meets the keelson, as is the size of the sheerstrake.
January 27 - 31, 2003
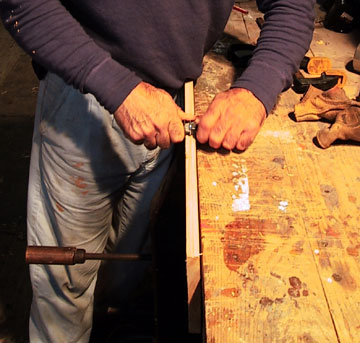
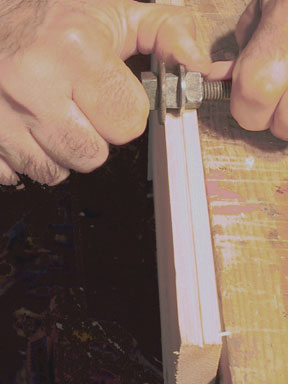
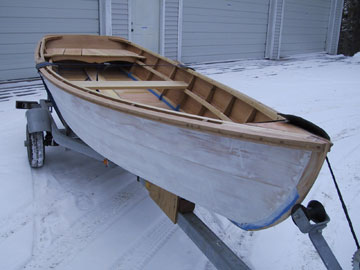
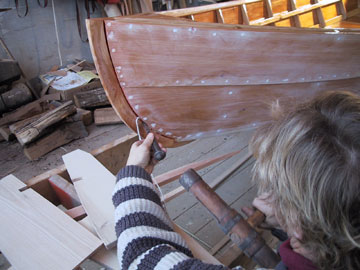
Oak rails were attached. They have a groove for a rope on outside surface.
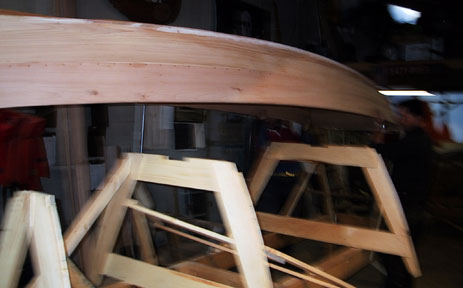
Moved the skiff to a heated shop, 55 degrees, so that the paint will dry in a timely manner. This will free up space for the next boat to get started, a second Mathis skiff, and won't restrict the sanding that is necessary in Rick's shop. Started to paint!
January 24, 2003
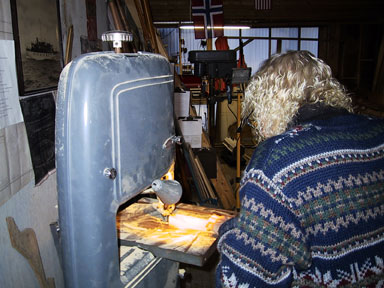
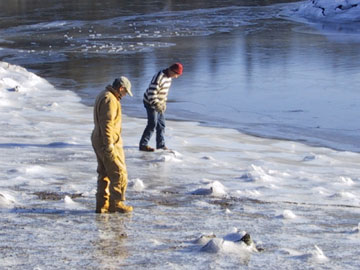
It was zero today. Rick and Michael test the ice.
January 23, 2003
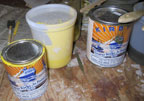
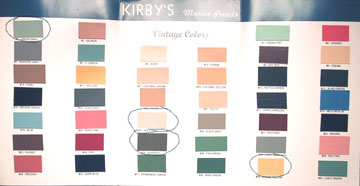
The paint order arrived from Kirby Paint Company in New Bedford, Mass. The colors that I decided to use are the circled ones.
January 18
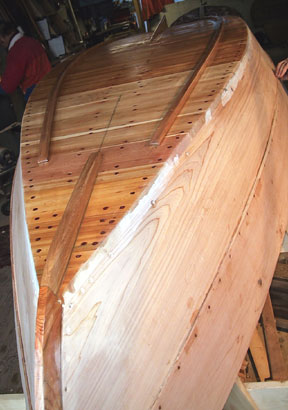
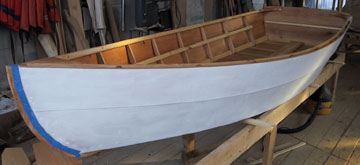
Primer applied to the outside of the hull after all holes were filled with surfacing putty.
January 17, 2003
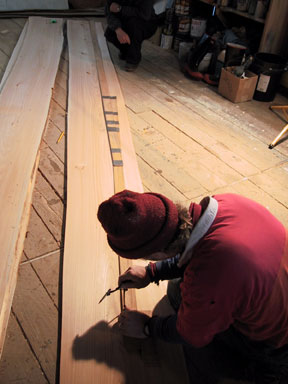
Chalked and painted red lead on groove in stem.

Rick created a groove in the transom to put chalk and red led it, so it would be water tight.
January 13 - 16, 2003
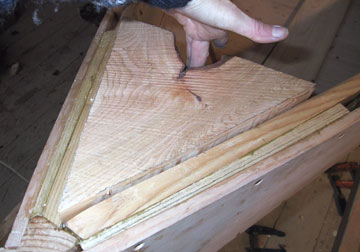
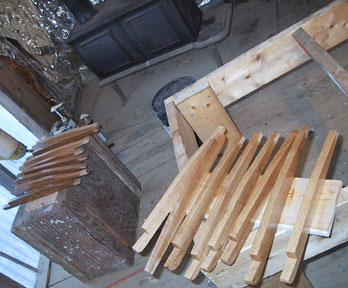
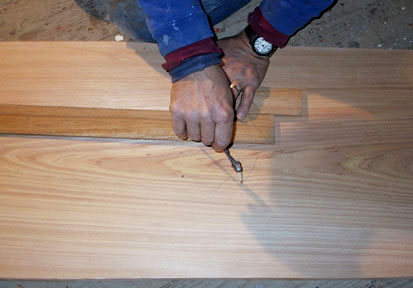
Filled rivet holes with putty. Cut the pieces of ash that make up the back seat. There are five pieces with a small spacebetween them.
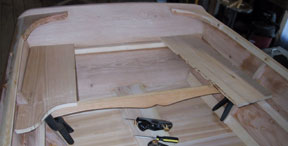

Made the oarlock pads which are small rectangular pieces of oak that the oarlock holder gets set into.
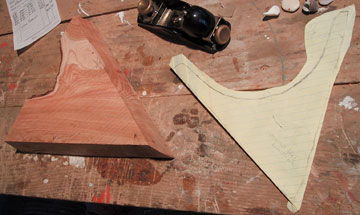
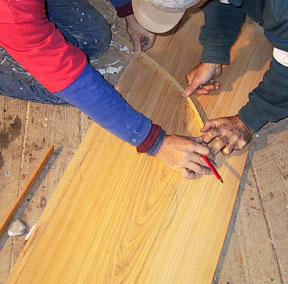
Made cardboard pattern for frount seat and transferred that shape to the ash boards. Painted the outside of the boat with primer. Sand, sand, sand.
January 11, 2003
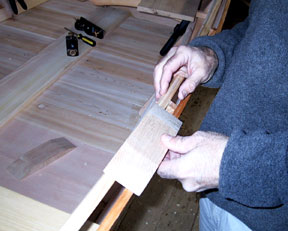
Cut and shaped the ash braces that hold one side of the back and frount seats. Sand, sand, and sand.

January10, 2003
Sanding, sanding, sanding! Plus took riser off and hammered rivets to below the surface of the planks where needed. Then put riser back on and rebunged. This was so that we could get that Corvette finish on the outside of the hull…….

Before varnishing the rails I planed and sanded the top of the sheer where rails, planks, frames and knees all come together. I remembered that on my other boat, the Trumpy Tender, I had taken the corners off of the top of the frames to avoid chipping of the sharp corner, so I did the same on the skiff. Here is a picture of before and after that little chore:
Feb 8-9
Went to an antique show in Bath and found an old wooden tool box and an 1908 booklet, "Forest Trees of Maine". Building this skiff has stirred my interest in the sources of my materials.
More painting and varnishing each day.
Feb 3-7
Finally a visitor! Jane came for the week and is helping me with the painting and varnishing which is coming along nicely. Each day I do a little something, like varnish the interior or the bottom with me painting above my head so that the paint doesn't run into the space between the bottom boards. That would impare the swelling necessary to float the boat.
Attending to little details like the oval brass screws for the oarlock holders. I bought copper by mistake but was able to find the brass at Grovers, the local hardware store in Boothbay Harbor.
Feb 2
Why would anyone build a house with a flat roof in Maine? This sort of question puzzles me.
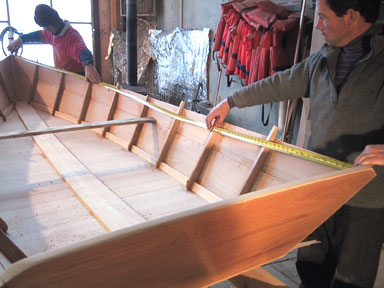
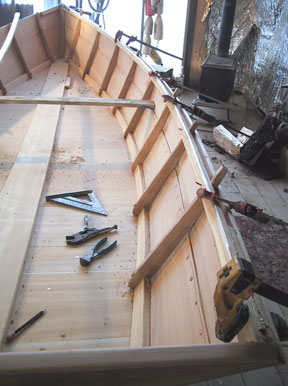
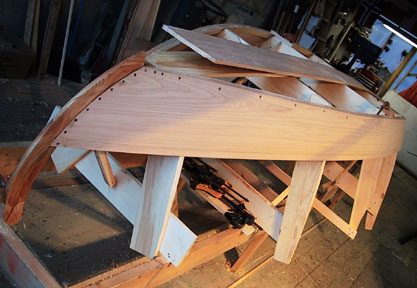
The second skiff is moving along. The keelson and the chine logs are smaller than on the first skiff and I am wondering if it truly qualifies as a Mathis skiff if the scantlings are changed? The stem is also shaped slightly different where it meets the keelson, as is the size of the sheerstrake.
January 27 - 31, 2003
Oak rails were attached. They have a groove for a rope on outside surface.
Moved the skiff to a heated shop, 55 degrees, so that the paint will dry in a timely manner. This will free up space for the next boat to get started, a second Mathis skiff, and won't restrict the sanding that is necessary in Rick's shop. Started to paint!
January 24, 2003
It was zero today. Rick and Michael test the ice.
January 23, 2003
The paint order arrived from Kirby Paint Company in New Bedford, Mass. The colors that I decided to use are the circled ones.
January 18
Primer applied to the outside of the hull after all holes were filled with surfacing putty.
January 17, 2003
Chalked and painted red lead on groove in stem.
Rick created a groove in the transom to put chalk and red led it, so it would be water tight.
January 13 - 16, 2003
Filled rivet holes with putty. Cut the pieces of ash that make up the back seat. There are five pieces with a small spacebetween them.
Made the oarlock pads which are small rectangular pieces of oak that the oarlock holder gets set into.
Made cardboard pattern for frount seat and transferred that shape to the ash boards. Painted the outside of the boat with primer. Sand, sand, sand.
January 11, 2003
Cut and shaped the ash braces that hold one side of the back and frount seats. Sand, sand, and sand.
January10, 2003
Sanding, sanding, sanding! Plus took riser off and hammered rivets to below the surface of the planks where needed. Then put riser back on and rebunged. This was so that we could get that Corvette finish on the outside of the hull…….
posted by Sigrid Trumpy at
8:50 PM
![]()