November 19 - 22
Attached the chinelog to keelson at stem.
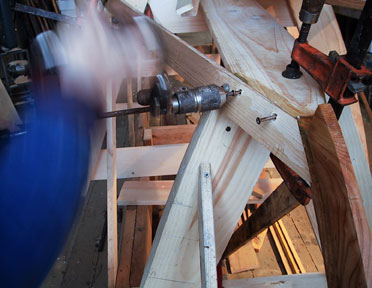
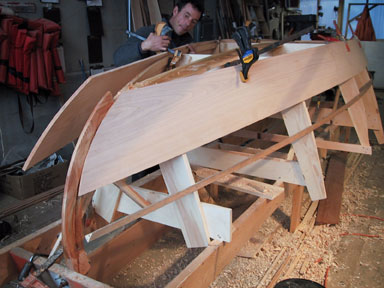
Fit garboards to boat and attached to stem and chinelog with screws.
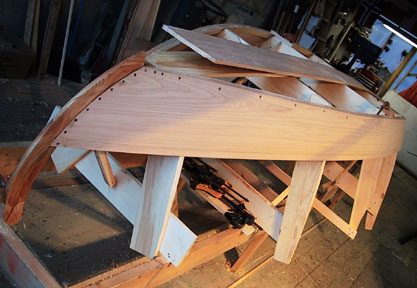
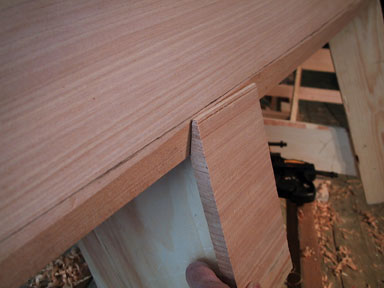
A bevel was cut on the edge of the garboard so it can receive the sheerstrake with a tight fit.
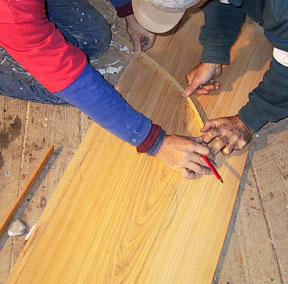
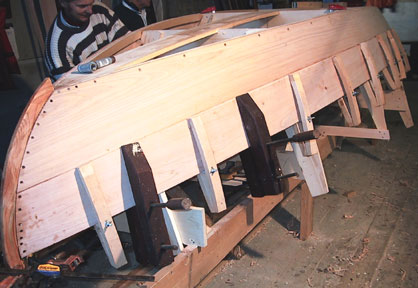
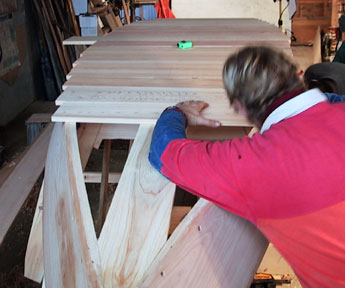
By Rick's suggestion we took the shape of the sheerstrake off of the boat by holding an uncut piece of cedar against the boat while scribing lines from the inside at the molds, stem and transom. Cut and fit and then used this plank as pattern for the other side. Both planks were clamped onto garboard at lap.
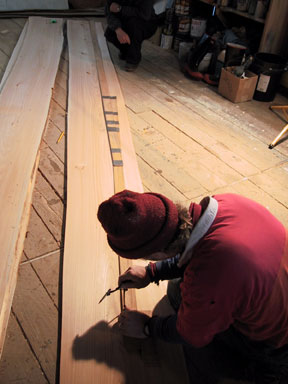
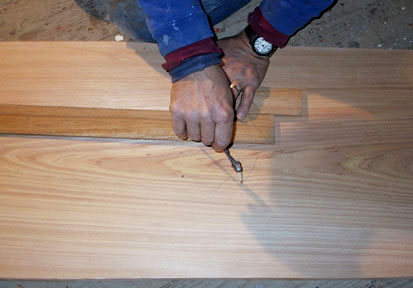
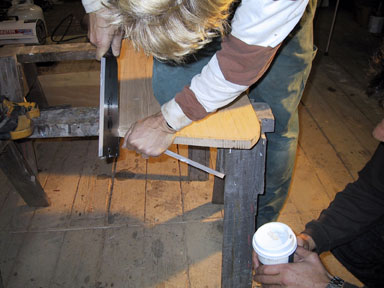
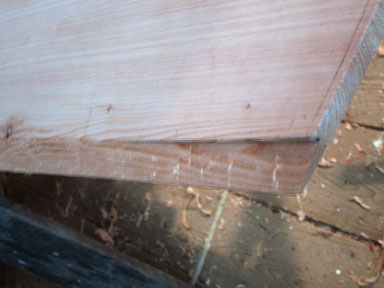
Started cutting the gains, which are the approximately 12" edge at the stem and transom end of each plank, where two planks meet, and are blended into each other by tapering each board.
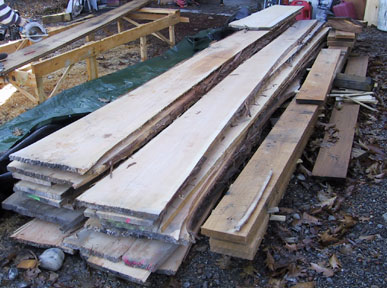
Cedar was planed and cut for bottom boards.
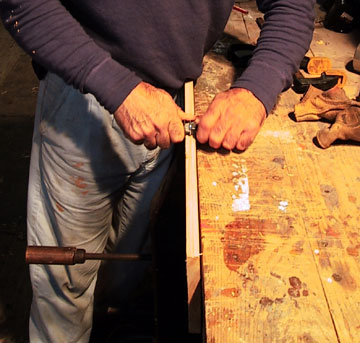
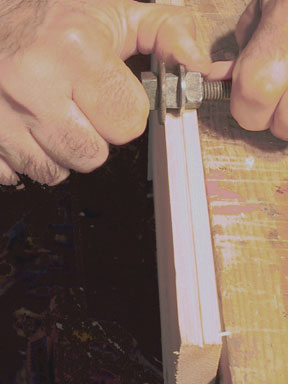
A small impression was forced into the thickness edge of each board, then it was planed down leaving just a small amount of that groove. When the board swells with water this groove will give a space for expansion so that the bottom boards won't be too tight.
Attached the chinelog to keelson at stem.
Fit garboards to boat and attached to stem and chinelog with screws.
A bevel was cut on the edge of the garboard so it can receive the sheerstrake with a tight fit.
By Rick's suggestion we took the shape of the sheerstrake off of the boat by holding an uncut piece of cedar against the boat while scribing lines from the inside at the molds, stem and transom. Cut and fit and then used this plank as pattern for the other side. Both planks were clamped onto garboard at lap.
Started cutting the gains, which are the approximately 12" edge at the stem and transom end of each plank, where two planks meet, and are blended into each other by tapering each board.
Cedar was planed and cut for bottom boards.
A small impression was forced into the thickness edge of each board, then it was planed down leaving just a small amount of that groove. When the board swells with water this groove will give a space for expansion so that the bottom boards won't be too tight.
posted by Sigrid Trumpy at
7:54 PM
![]()